


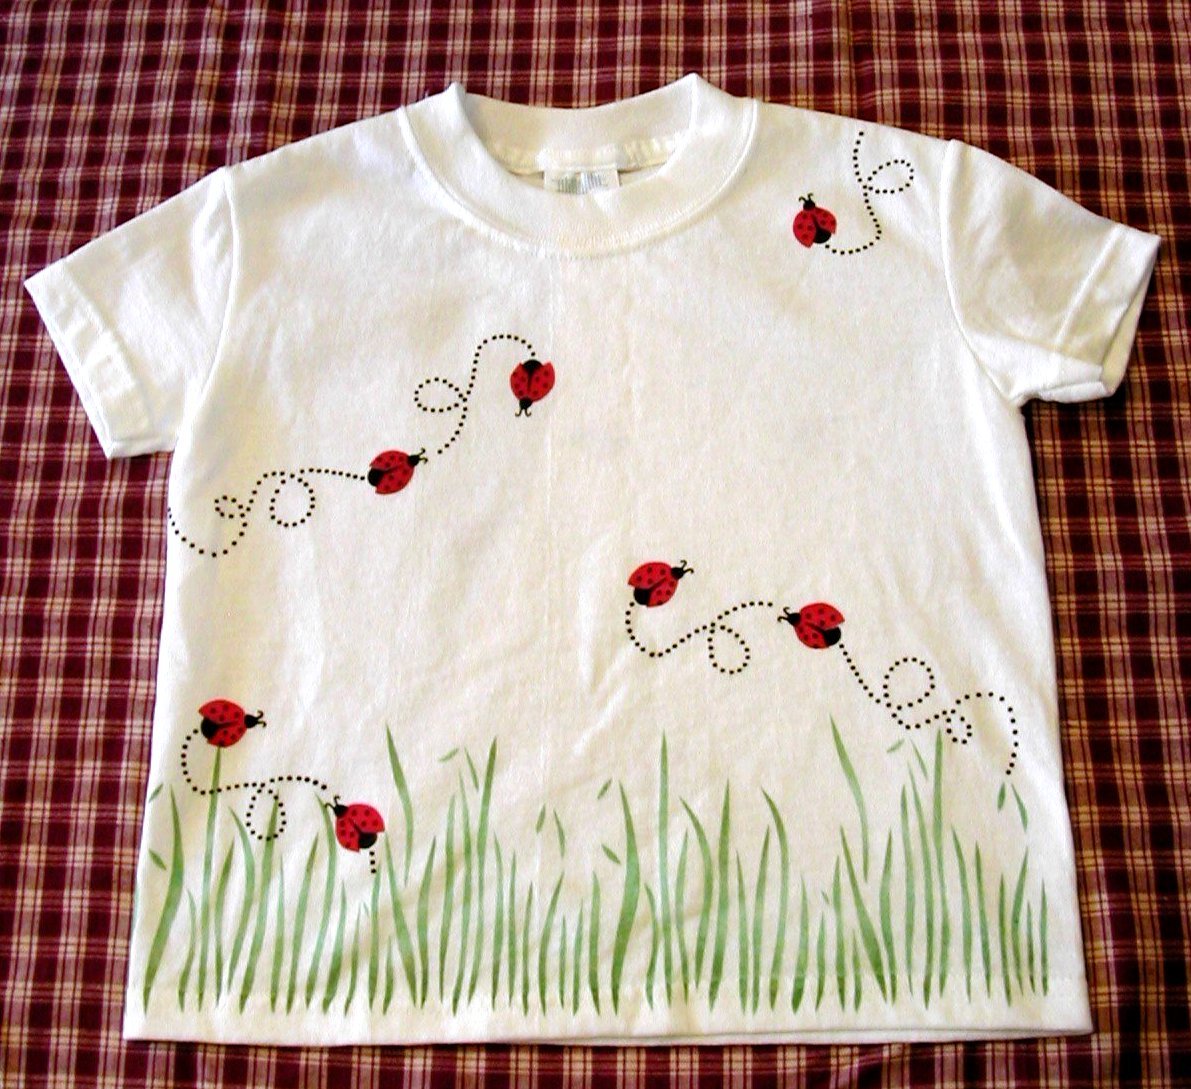
Searching for a fun craft project to do with children?  This adorable stenciled ladybug t-shirt project is the perfect project for your little ones.  I just love to see their faces light up when they know they have created something awesome with their own hands! Take any plain t-shirt, add a stencil and craft paint, and you’ve got a beautiful custom t-shirt.  Stenciling is so simple that a child can do it!!
Supplies
- T-Shirt
- A971S Ladybug Dance stencil
- SB11 Grass stencil
- Cardboard (to put inside the t-shirt to prevent bleed through)
- Quilter’s Marking Pen (disappears with 48 hours)
- Fabric paint:Â Green, Red and Black
- stencil brushes
Steps
- Prewash and dry the t-shirt. Do not use fabric softener.
- Put cardboard in between the layers of the t-shirt. Apply the SB11 Grass design along the bottom of the t-shirt front. Allow to dry.
- Using the red and black paint, apply the A971S Ladybug Dance stencil design in various desired locations on the t-shirt, allowing ample drying time between overlays. Repeat this procedure on the back of the t-shirt.
- TIP: We used a quilter’s marking pen, with disappearing purple ink to mark the stencil registration marks on the shirt. This works great and disappears within 48 hours.
T-shirt projects are great craft ideas for  VBS (vacation bible school), on rainy days, or times when you just want to create and have fun.  With stencils you can use the pattern as designed, or you can create your own patterns.  Stencils are a great way to boost a child’s confidence.  Quick, beautiful designs in just minutes.  Have fun with your child!
