
Great DIY baby shower gift ideas are hard to find.  I knew I wanted to make a personalized gift that wasn’t too expensive. These DIY personalized mod podge baby blocks project is perfect!  All that is required to make these adorable baby blocks with baby’s name is a piece of 2″ X 6″ lumber, scrapbook paper, mod podge, spray paint and letters (I used our letter decals but you can buy or make your own out of paper).
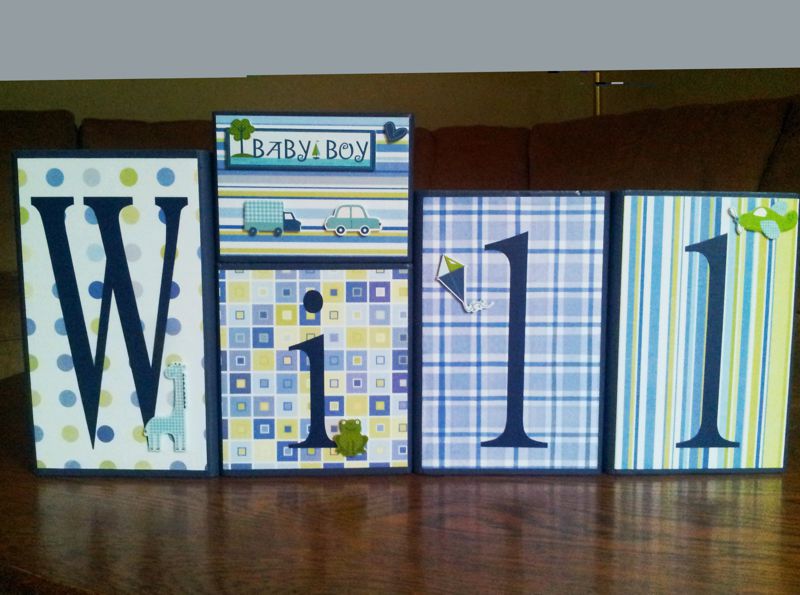
I had tons of scrapbook paper and  found paper with shades of navy, green and gray that perfectly matched the nursery room colors. I headed off to the hardware store to buy a 2″ X 6″ X 8 ft piece of lumber and had them cut it into assorted lengths of 4, 6, 8 and 9 inches.  Yes, a Lowe’s employee will cut them in whatever lengths you prefer.  Keep in mind that a 2″ X 6″ is really 1.5 inch thick X 5.5 inch wide.  My blocks were cut to 9 inch, 6 inch, 8 inch (2 of them), and 4 inch tall sections (tiny one on top of the i).
Step 1
I gently sanded the wood blocks, wiped them with a lightly moist rag, then gave them a couple of coats of satin spray paint (blue).  I prefer using a satin finish.  Allow to dry according to the label instructions.
Step 2
I cut the scrapbook paper to fit each wood block, then gave them two coats of Mod Podge, allowing them to dry between coats.
Step 3
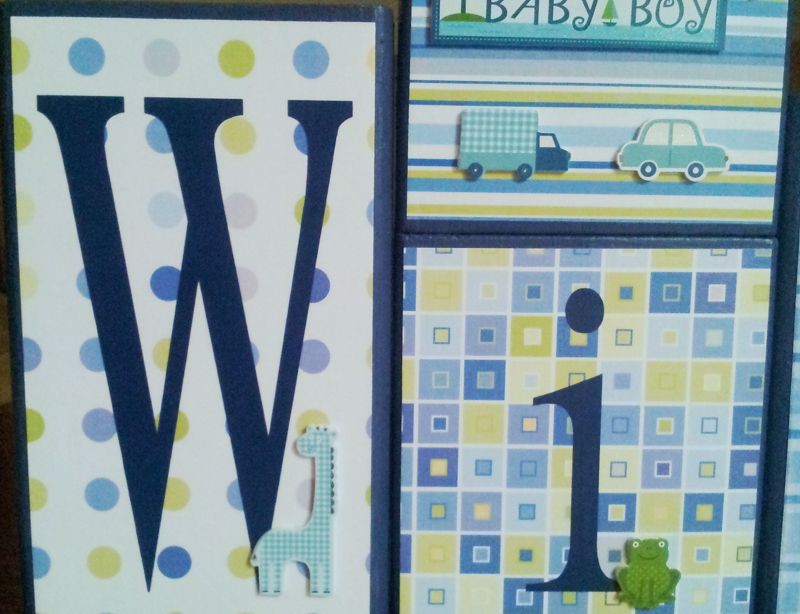
After the wood blocks were dry, I carefully stuck the letter decals on top.  I also added some fun scrapbooking foam stickers to each block.  You can find these at Michae”s, Hobby Lobby, Jo-ann’s.  Super easy!!!  The mom-to-be loved them!  Who says you have to spend a lot of money to make a beautiful customized gift?  Not us crafters!  The great thing about these baby blocks is the cost (so inexpensive!) and the way they turned out.  So CUTE!